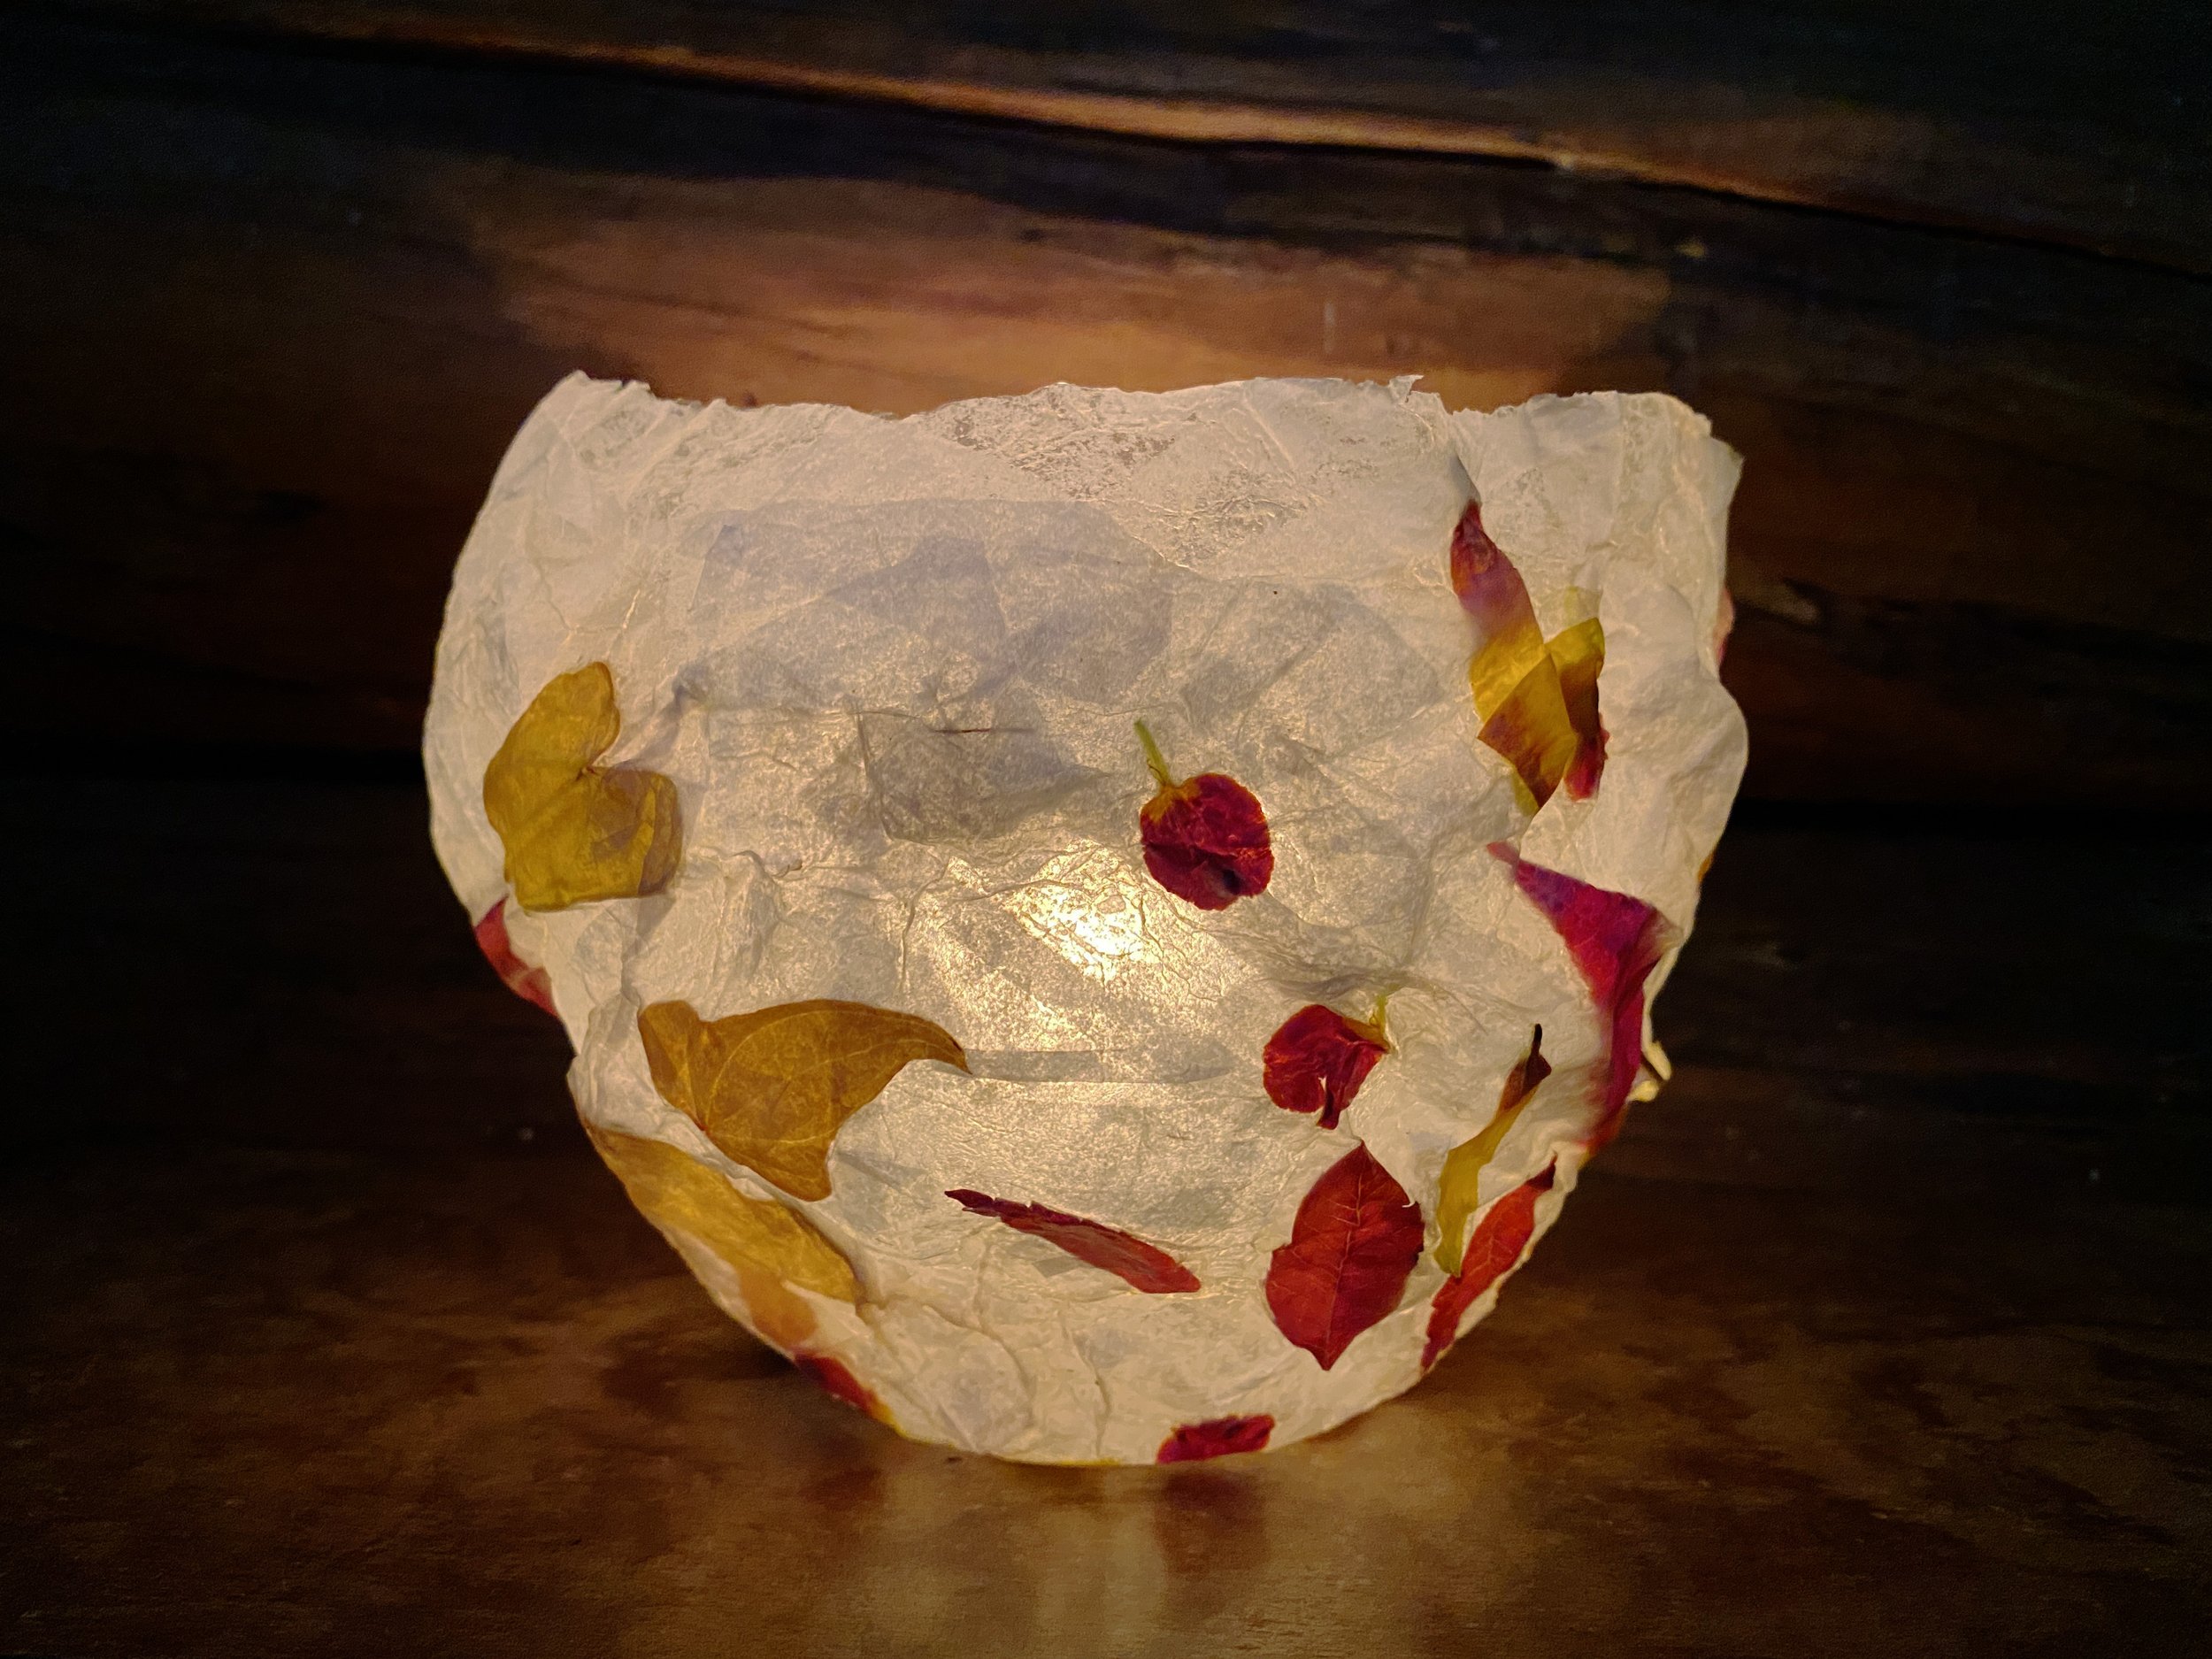
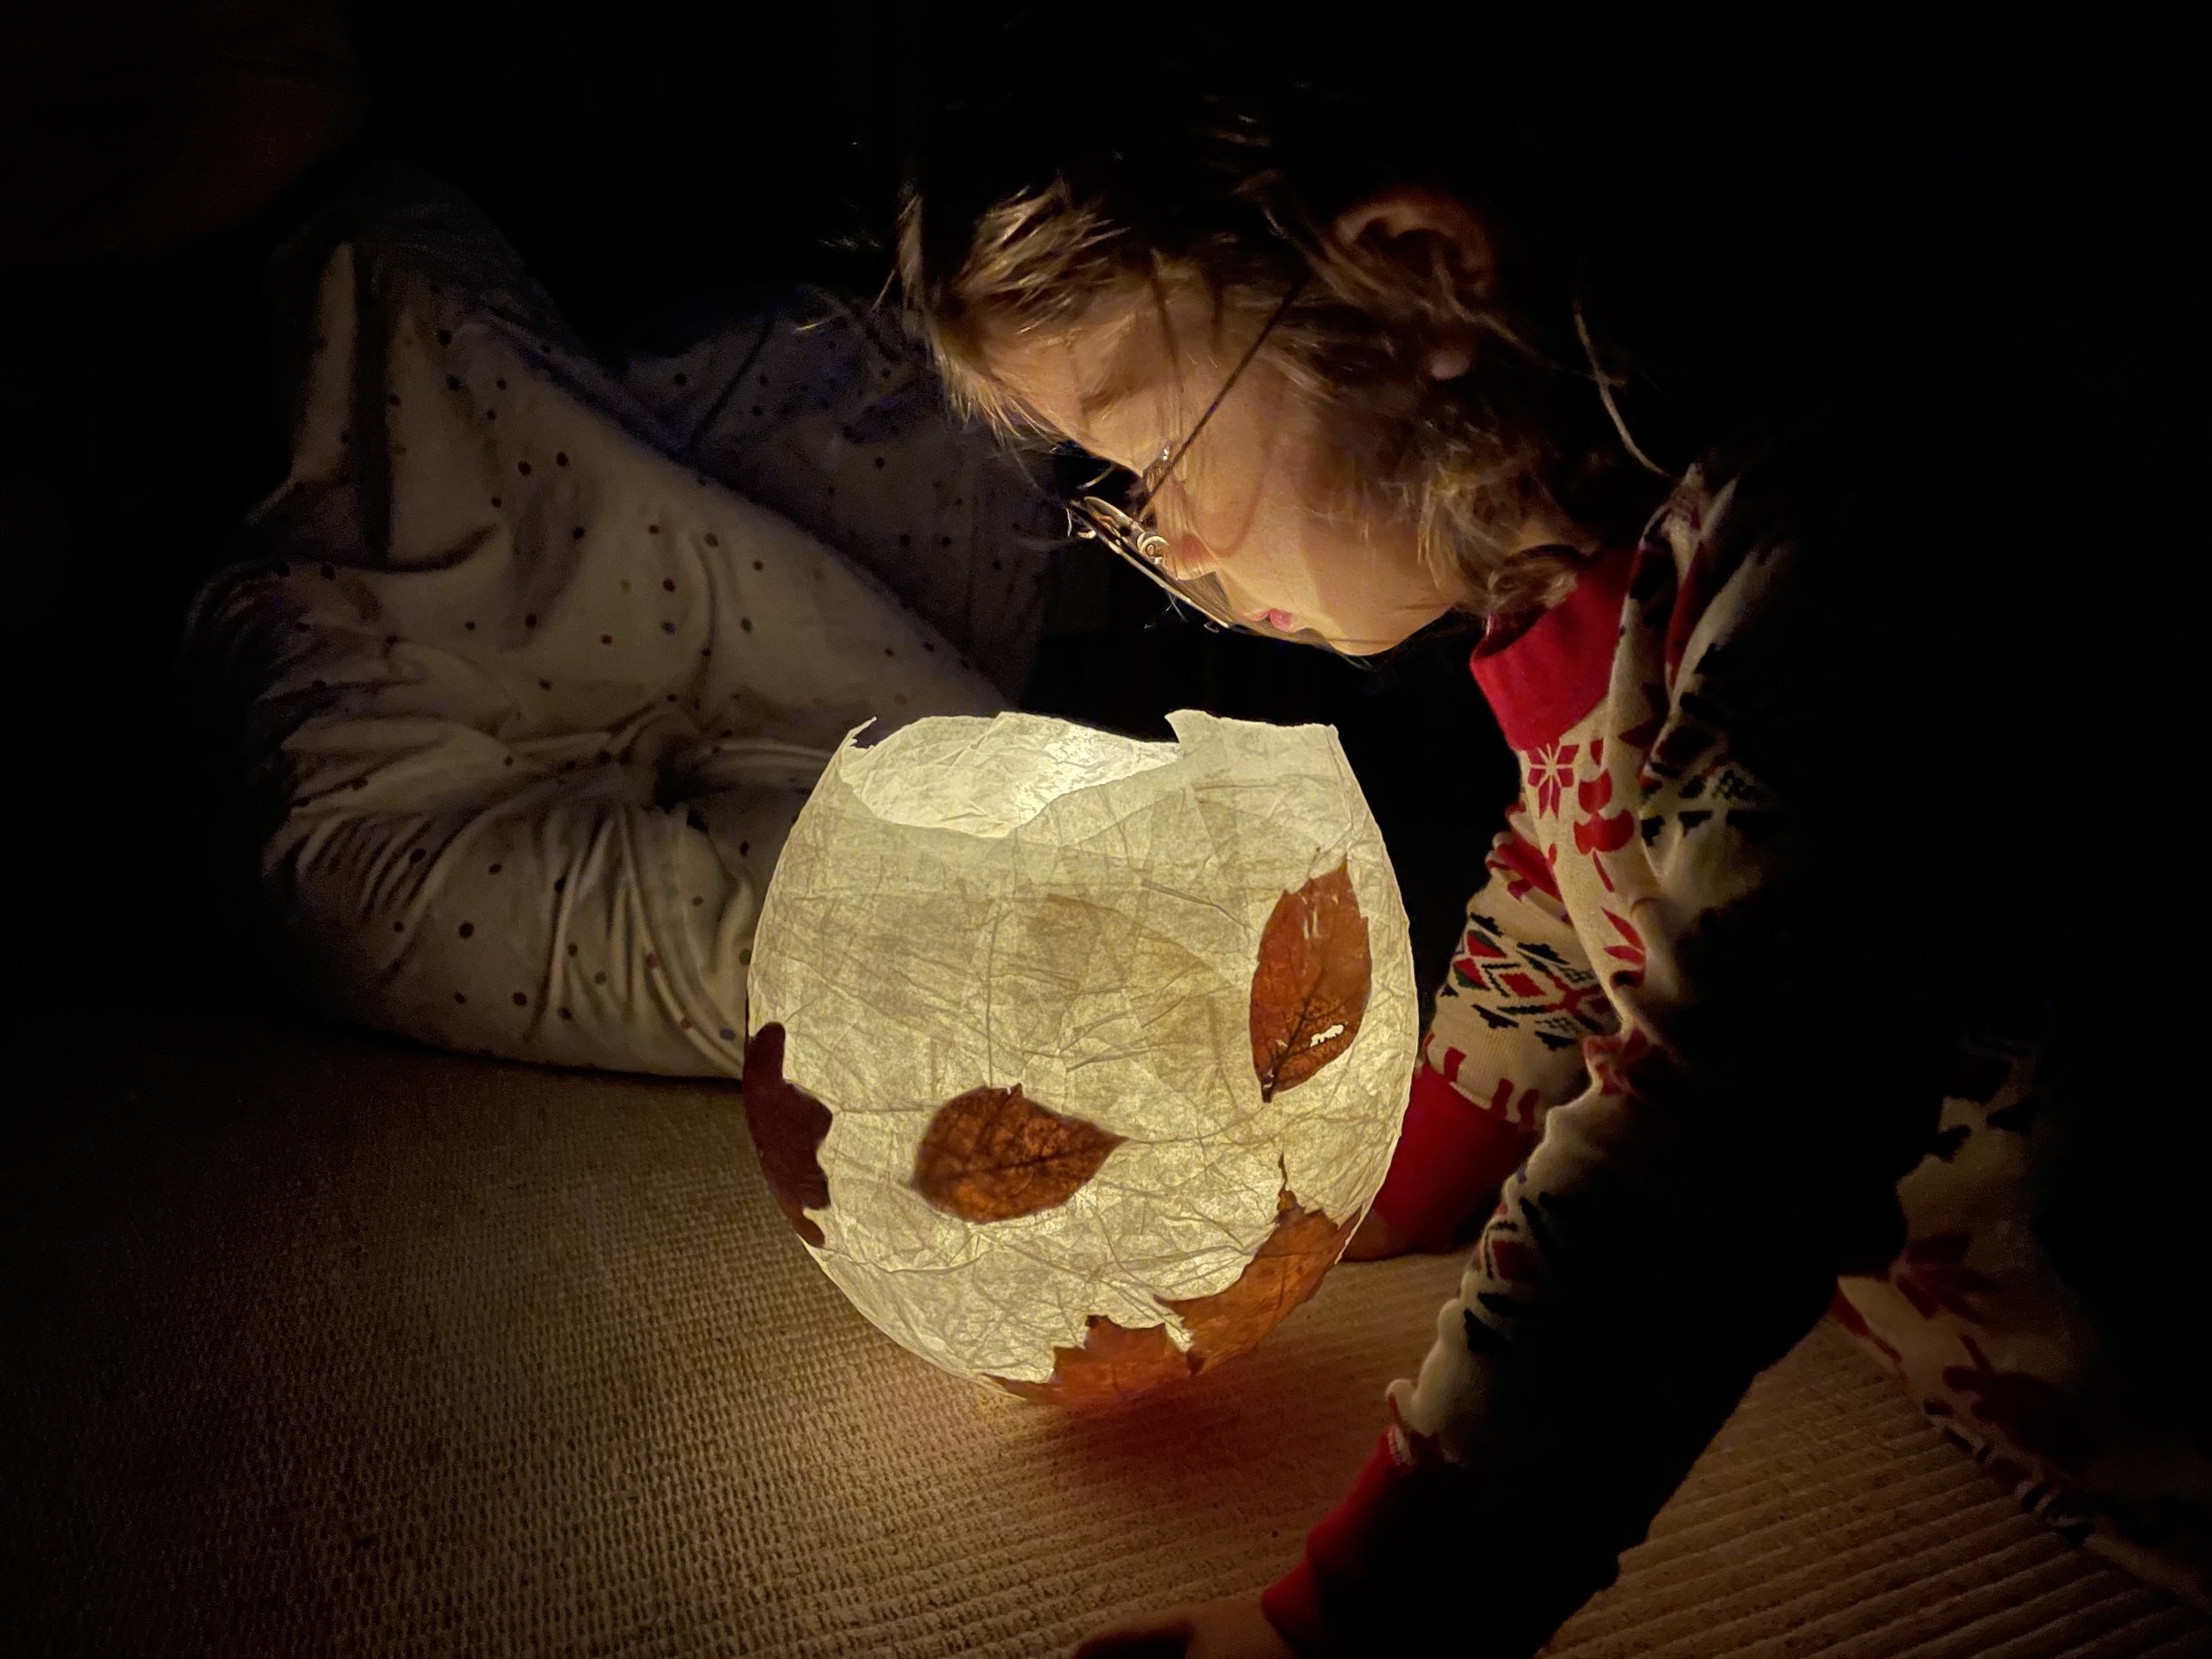
Leaf Lantern Tutorial
This fall activity is a wonderful way to celebrate the turn of the season as well as add beauty and light to your home during the darker days of autumn.
My child loved just about every part of this project from hunting for leaves and flower petals to playing with a balloon to gluing paper and leaves, and finally popping the balloon and lighting up the lantern.
Throughout the paper mache process, he often said, “We’re working as a team,” because we were both dipping and gluing together. It was so fun!
Depending on the size of the balloon and tissue strips, this activity will take around 30-45 mins to complete (not including drying time). The larger the balloon and the smaller the strips, the more time it takes to layer them on.
OK, let’s get started!
Materials:
Leaves and flower petals
Tissue paper, cut into strips
Balloon
Flour
Water
Flameless tea light
Make paper mache paste by combining:
1/2 cup all purpose flour
1 cup water
Simmer water in a pot and slowly add flour. Mix continuously until a smooth paste forms. Pour into a tray and let cool.
Before starting, prepare your craft station with all the materials plus an extra towel for cleaning hands, a bowl for the balloon to rest in while you’re working on it, and an extra bowl of water.
Blow up balloon as full as you can. This will help keep the round shape of the lantern as the balloon will slightly deflate as the lantern dries.
Put the balloon in the bowl. Dip the tissue paper strips into water (not the paste yet) and layer it onto the balloon (just one layer). This will make it easier to remove the balloon later.
Then, using your fingers, spread a thin layer of paper mache paste onto the balloon and add tissue paper strips. Then add more paste and tissue on top, layering until most of the balloon is covered and there are no gaps. We wanted the lantern to be transparent but also sturdy, so we used about 3-4 layers of tissue paper.
Next, place leaves one at a time and spread paste on top so they stay flat. You can also add a thin layer of tissue to help secure the leaves in place.
Let dry completely. This could take 10-12 hours.
Next, the fun part! Pop the balloon and peel it off. Then at dusk, add a flameless tea light and watch the leaves glow. Make more to decorate the house and share with friends!
Meg also tried this project with a couple small tweaks. She used kite paper instead of tissue paper and Nori paste instead of flour/water paste. If you have these materials handy, they also work well!
Did you try this project? Was there any parts that was surprising?
We’d love to hear from you. Please let us know in the comments!


